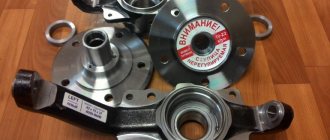
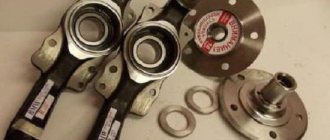
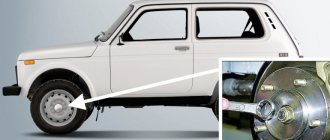
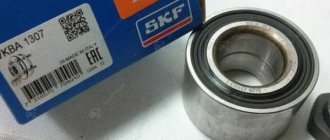
Replacing the wheel bearing VAZ 2101-2107
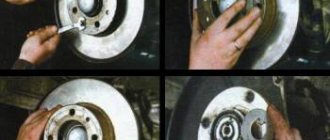
1. Raise the car on a jack and hang the front wheel where we are going to work. We remove it to gain access to the hub and brake mechanism
2. Dismantle the caliper as described in this article. We place it in the bottom of the steering knuckle, make sure that the brake hose is not stretched - it can be damaged.
3. Take a flat screwdriver and remove the protective cap. There is no thread on it, we just pry it from all sides and it flies off. If it is damaged, it is advisable to replace it with a new one.
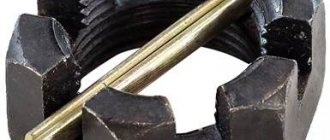
4. Align the edge of the hub nut (adjusting). It is visually visible that one of its edges is dented into the groove of the steering knuckle axis.
5. Use a 27 key to unscrew it.
Important. Depending on the side where you want to change the bearing, the nuts are turned in different directions. On the left side of the car counterclockwise, on the right side clockwise, its thread is reversed. This must be remembered when twisting them.
On the left wheel, a nut with a right-hand thread is used, it is marked with a dot, on the right - with a left-hand thread, it has notches on its edges so as not to confuse it.
6. Remove the hub assembly with the brake disc.
7. Use a slotted screwdriver to remove the washer and outer hub bearing.
8. Using a 12mm wrench, unscrew the guide pins. In some cases, ring wrenches size 11 are used. Before unscrewing, clean the contact points between the guides and the ring, spray with WD-40 or its homemade equivalent.
9. Remove the spacer ring
10. Take a wooden block and use a hammer to knock the hub out of the brake disc housing. In this case, it is more important not to damage the disk itself. It is advisable to place it on two boards so that there is room in the center for the hub to fall out. Otherwise, it will rest its edge on the surface and with further blows of the hammer it can be damaged.
11. Place it in a vice with the inner bearing facing up and clamp it. Use a slotted screwdriver to remove the hub cuff. She may not give in the first time. Carefully pry it off from all sides with a screwdriver so that it can be removed evenly; if necessary, use an impact tool.
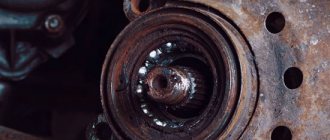
12. Remove the inner bearing. We clean the hub body from old grease
13. Clamp it in a vice. Using a mandrel or other metal device with a blunt end, knock out the outer ring of the outer bearing.
Important. We tap it evenly over its entire plane with a mandrel so that it does not become warped. This is the only way it will come out of the housing, otherwise it will jam inside.
14. We also take out the outer ring of the inner bearing.
15. Wipe the inside, rinse with kerosene or diesel fuel. We inspect to ensure there is no damage inside the case.
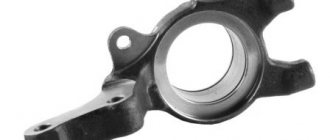
Rounded fist
The steering knuckle, mentioned above, is another important element of the VAZ 2107 suspension. Its purpose is easy to guess from the name. This part ensures smooth turning of the car's front wheels. The knuckle has two eyes with which it is attached to the paired suspension arms. On the reverse side of the knuckle there is a kingpin onto which the hub is placed along with the wheel bearing.
The hub, placed on the knuckle pin, is secured with a nut. It should be said here that turning the wheels is not the only thing the fist is responsible for. It also has an additional function: it limits wheel rotation. For this purpose, special protrusions are provided on the fists of the “seven”. When turning too sharply, the suspension arms hit these ridges and the driver can no longer turn the steering wheel. The knuckle must have a huge margin of safety, since it bears most of the shock loads that occur when the car is moving, especially on uneven roads. However, sometimes the fist becomes deformed (as a rule, this happens after the front wheels fall into a very deep hole or after an accident). Here are the main signs that something is wrong with your fist:
- when driving, the car pulls strongly to the side, and this becomes more pronounced with increasing speed;
- the driver suddenly notices that the turning radius has become smaller, and it has become more difficult to “fit” into very sharp turns. This indicates a decrease in the angle of rotation of the wheels. And this phenomenon occurs after a serious deformation of one fist;
- turning the wheel out. There are situations when one of the knuckle eyes breaks. This is very rare, but it cannot be ignored. So, when the eye breaks, the wheel turns out almost at a right angle to the body of the “seven”. If this happens while driving, the car instantly loses control.
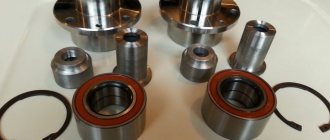
Installing new bearings
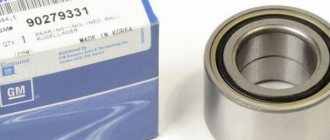
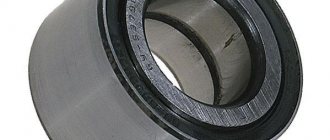
- We clamp it in a cleat. We take a new bearing race (ring) and push it into the housing. We use a flat board, a pry bar - any strong object with a flat surface.
- We install it exactly, relative to the plane of the hub, so that it does not become distorted and fits exactly into the seat. From above, with light blows of a hammer, drive the ring as deep as possible through the pry bar. We try to tap evenly so that it fits evenly into the groove, without distortion.
To recess it all the way, you can use an old ring, using it as a mandrel. At the same time, you need to place it relative to the new holder with a larger diameter to make it easier to pull out. In addition, there are special soft metal rings of different diameters designed for pressing bearings.
If the front wheel bearing of a VAZ 2107 is being replaced in the garage, but there is nothing similar at hand, then for complete pressing we use the tool that was used to remove the old races from the hub body. Also, carefully tapping along the entire perimeter of the ring, press it in until it stops.
- For the outer bearing race, just use a block of wood. We insert it accurately into the body so that it does not warp, place a piece of wood on top and tap it with a hammer until it is completely installed in the seat. There is no need to use the old bearing ring here.
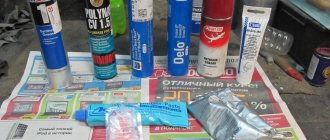
- We generously lubricate the cages of new bearings with a special heat-resistant grease.
Litol-24 and solid oil are not suitable; they may not withstand high temperatures and become liquid and lose their lubricating properties. We apply the same lubricant to the inside of the hub housing. In the “Murzilka” for repairs they advise using Litol, but practice shows otherwise.
- We insert the inner bearing into the race. We close it with a cuff with a locking ring. We evenly tap it on top through the spacer so that it fits into its seat without distortion.
- We put the finished hub with the bearing on the steering knuckle axis and install the washer. We also apply lubricant before tightening the hub nut. After replacing the front wheel bearing, it is advisable to use new adjusting nuts, since the old ones will be difficult to lock.
- Install the brake disc on the hub. Don't forget about the spacer ring (washer). We insert the guide pins through it, lubricating them with nigrol or “graphite”. We tighten them, pressing the caliper into the brake disc.
We adjust the free play of the wheel bearing, we will discuss how to do this correctly in the article: Wheel bearing play - causes of occurrence and adjustment of the wheel bearing of the VAZ 2107. We counter the nut, along its outer edges we carefully press the metal with a chisel opposite the grooves of the steering knuckle axis.
- We collect grease into the protective cap and install it in place. We return the caliper with brake pads to the disc.
Video on how to change wheel bearings yourself:
What reasons lead to hub failure?
- dashing ride over potholes and bumps. This is typical for lovers of the VAZ 2107: everyone wants to “wipe their nose” on the Lexuses lazily diving into holes on a country road. And trimming the “puzoter” is generally a real pleasure.
- serious overload: an attempt to pick up “all the potatoes” from the dacha can result in a serious accident.
- driving style, which is called “aggressive” - with sudden changes in acceleration.
- If the hub cap is lost, corrosion and wear will occur faster.
Diagnostics
To check the wheel bearings, you need to put the car on the handbrake and place wheel chocks under the rear wheels. When it is securely fixed, you need to lift the front wheel using a jack and install a reliable stop under the lower arm. After this, the jack can be removed. To ensure complete safety, it is advisable to install a stop under the car body that will protect against accidental falls when the vehicle slips from the stop.
Safety precautions are often overlooked, but they are vital when diagnosing front hub problems. Next, holding the top and bottom of the wheel with your hands, you need to perform a reciprocating movement, while no knocking should be heard or play should be felt. You should also spin the wheel several times.
If there are problems with the bearings, grinding, creaking, knocking and other unacceptable sounds will be heard.
